Create your first site
This tutorial will guide you to create your first organization, how you can group sites in projects and how you can launch with a click new sites that scale up and down automatically, as needed.
In order to follow this tutorial, you’ll need to have a domain for the site that you’re going to create.
After you’ve installed the Bitpoke App, you can go to the URL where you installed it (e.g. dash.myagency.com) to access it. Here you need to login using Auth0, either with your Google account, or with username and password, depending on how you’d set up you Auth0 account.
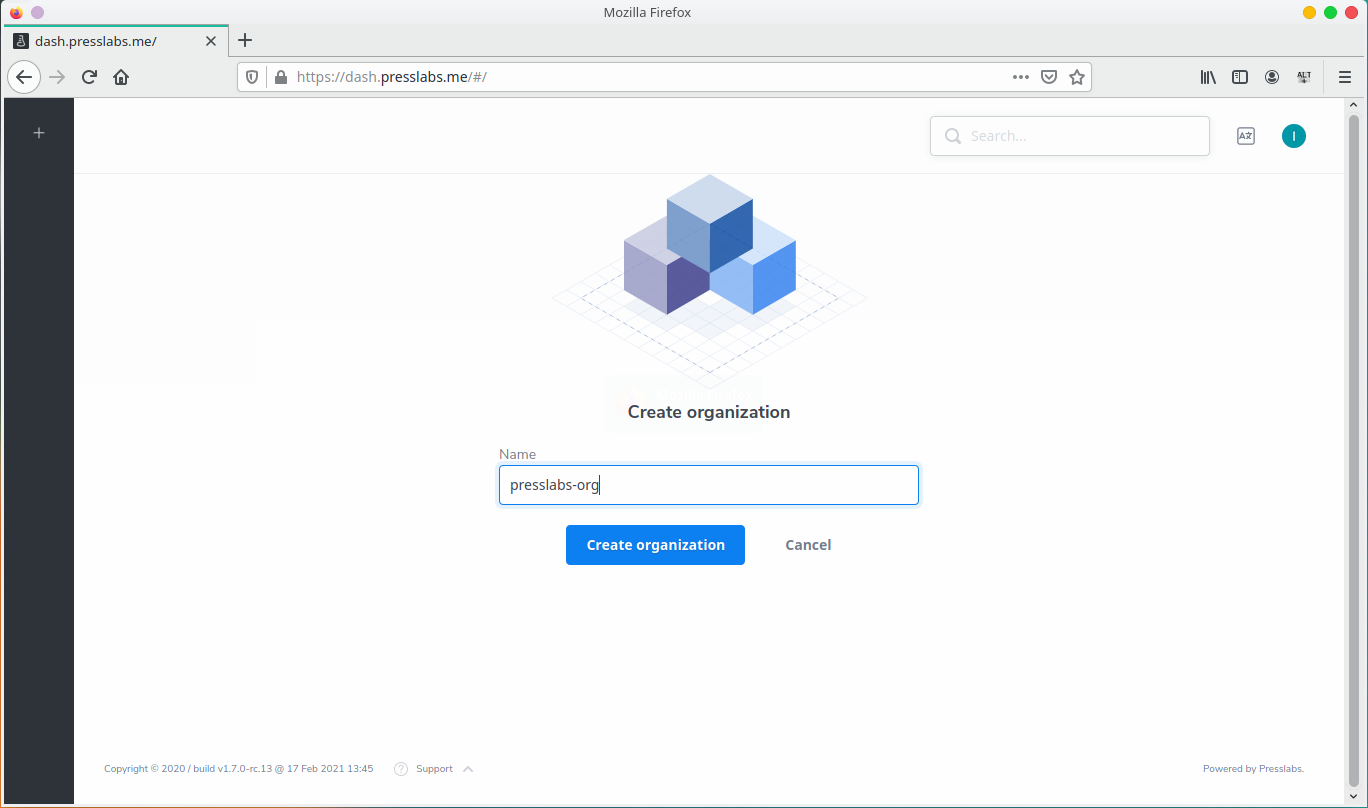
Create an organization
NOTE
Keep in mind that only site admins can create an organization, see more on Configure Admin Users .
When you access the Bitpoke App for the first time, you’ll be prompted to create your first organization:
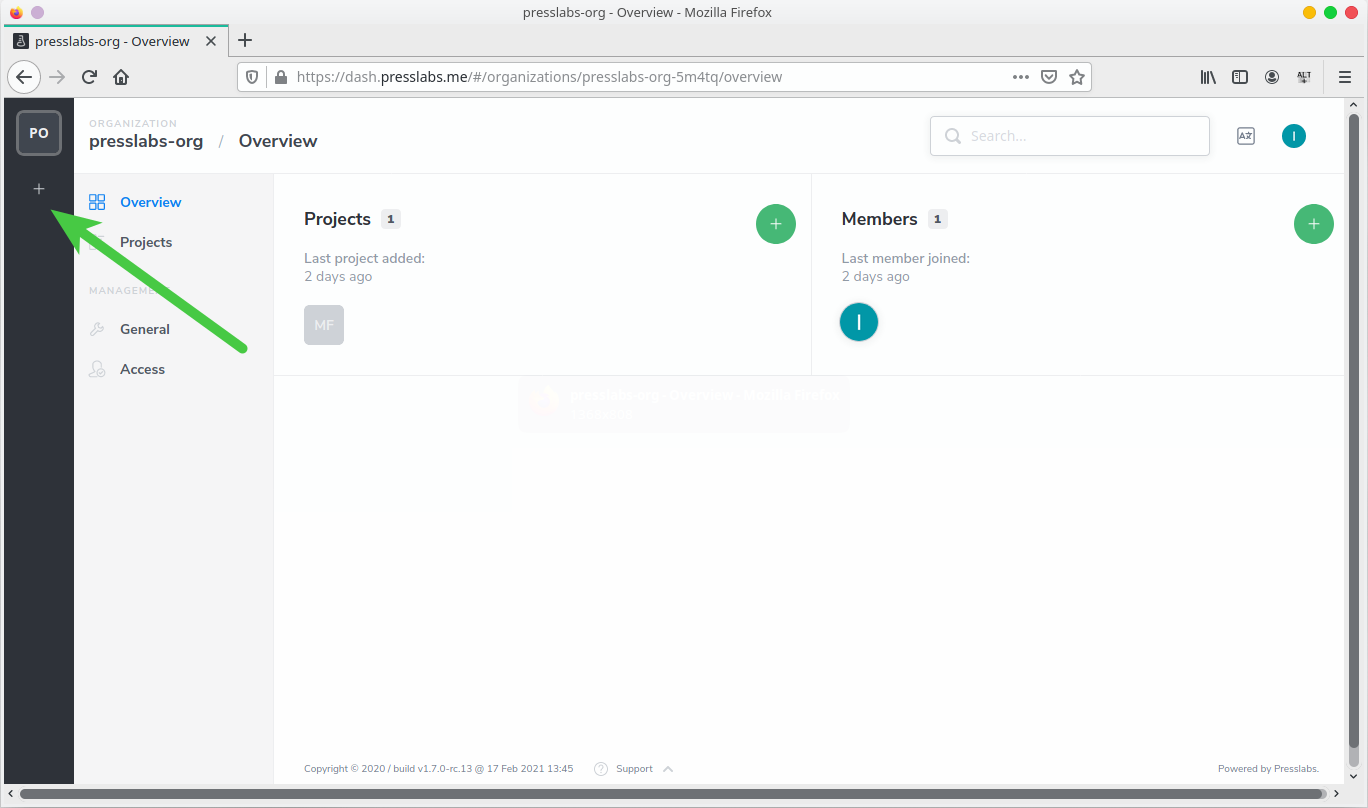
If you already have an organization, press the “+” button from the organizations menu to create another one.
Create a project
After you’ve created your organization, you’ll be redirected to the overview of it.
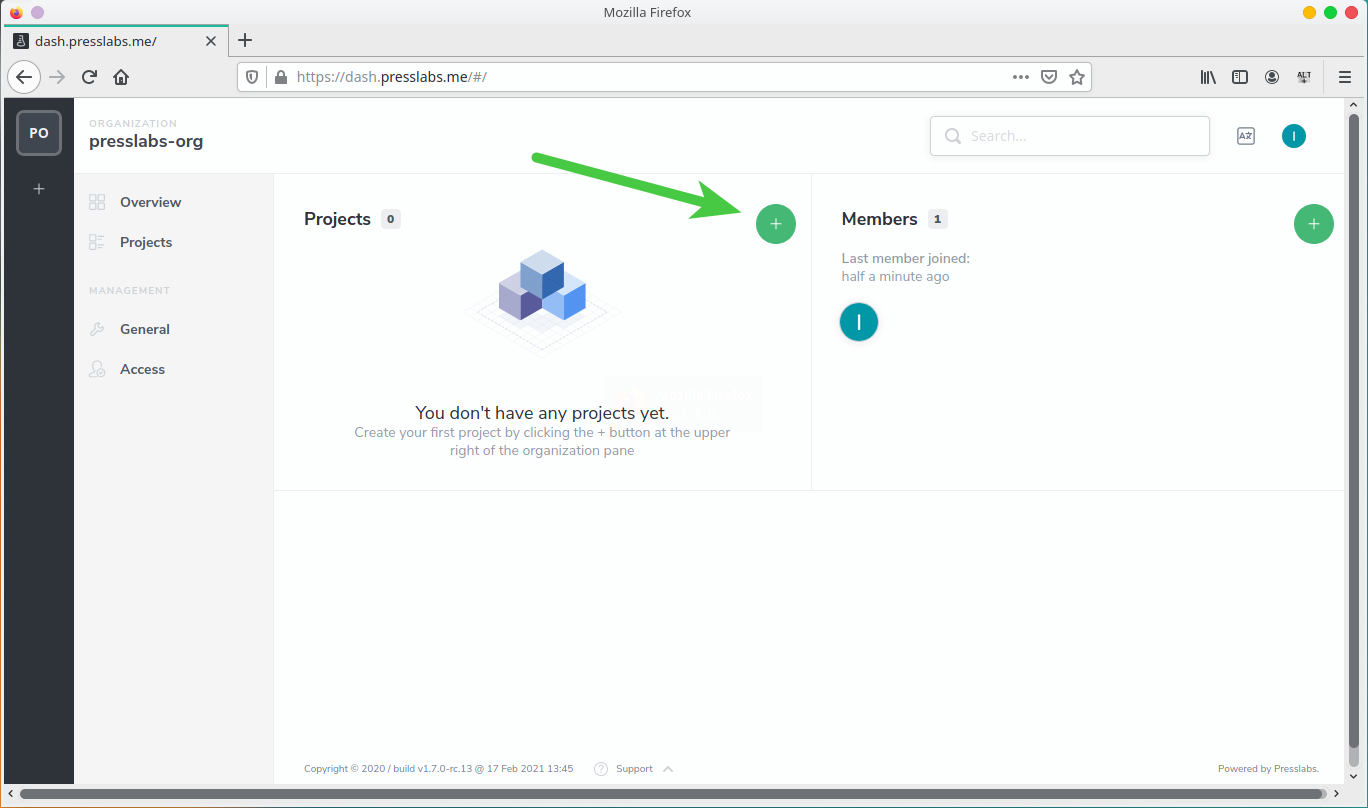
Your organization has no projects yet, so let’s create one. Press on the “+” sign from the project’s overview and create your first project:
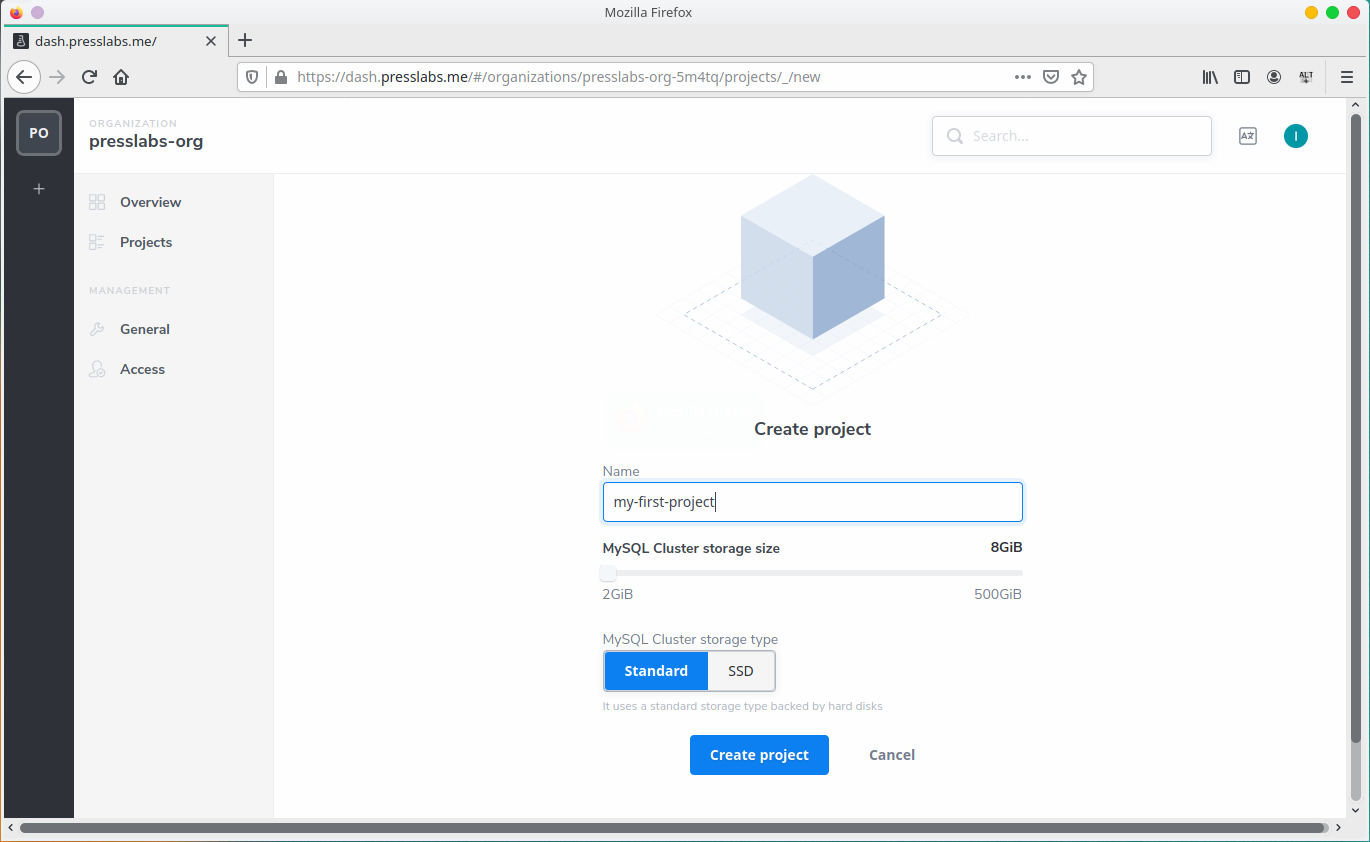
You need to:
- type in your project name
- select the MySQL Cluster storage size you need
- choose if you want your MySQL Cluster storage type to be Standard (It uses a standard storage type backed by hard disks) or SSD (It uses a faster storage type backed by SSD)
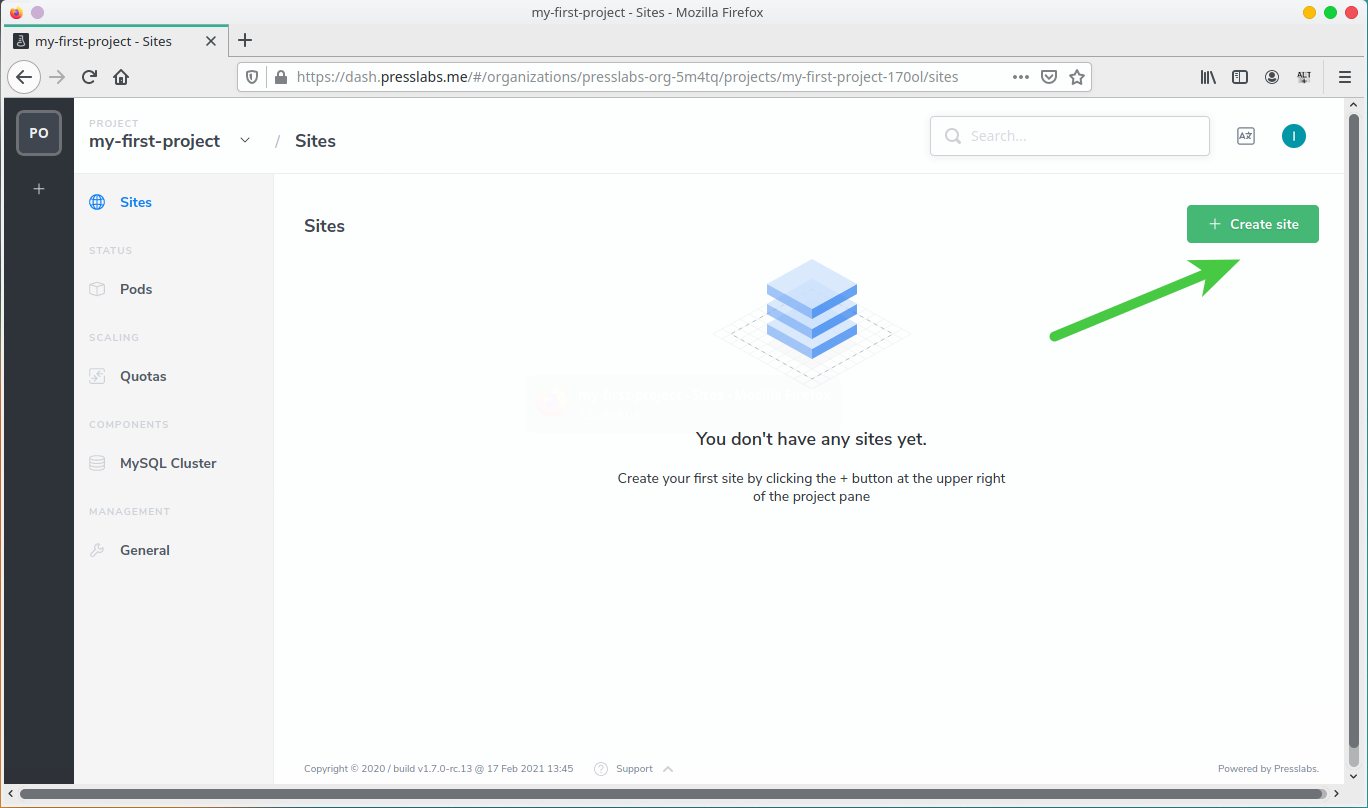
Create a site
After you’ve created your organization, you’ll be redirected to the Sites page, which is now empty, as you don’t have a site yet. Let’s go ahead and create your first site:
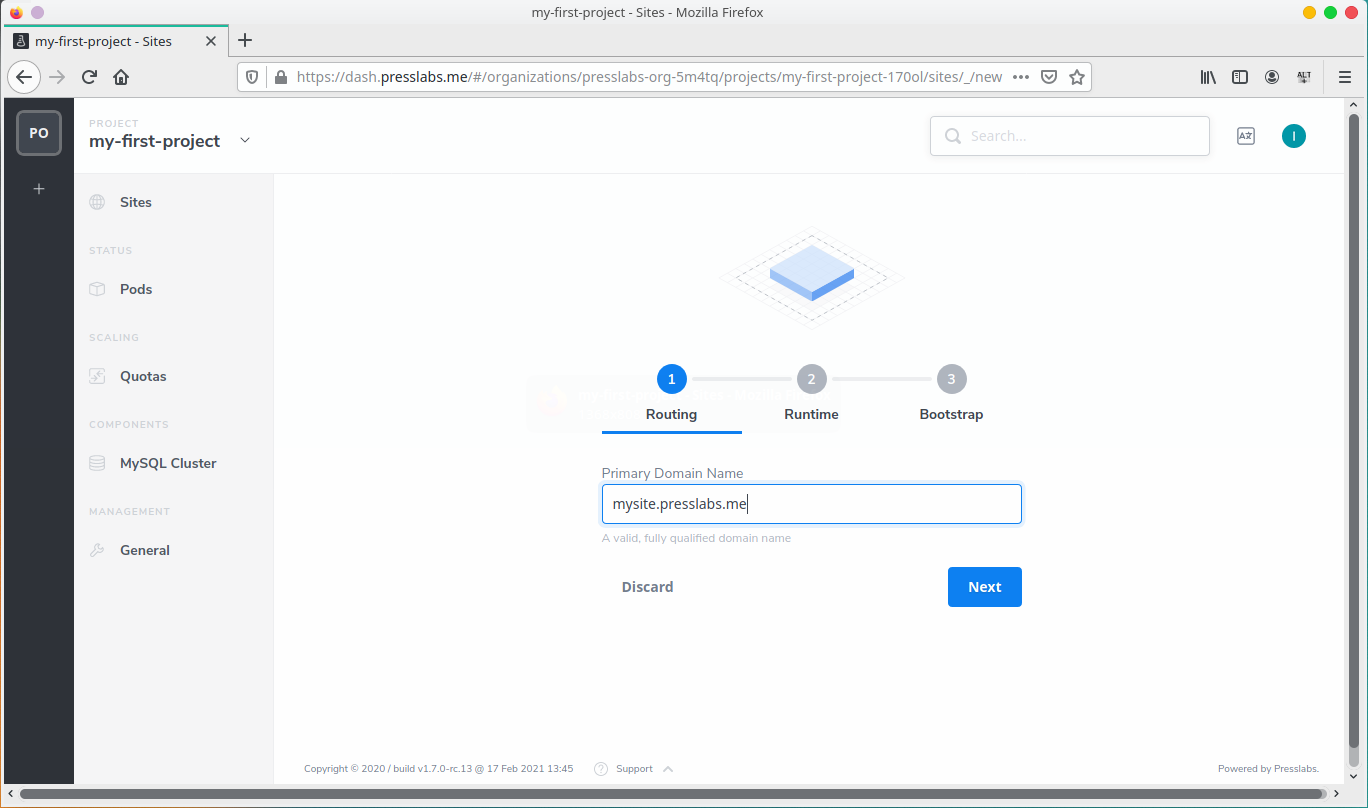
You need to enter the domain for your site:
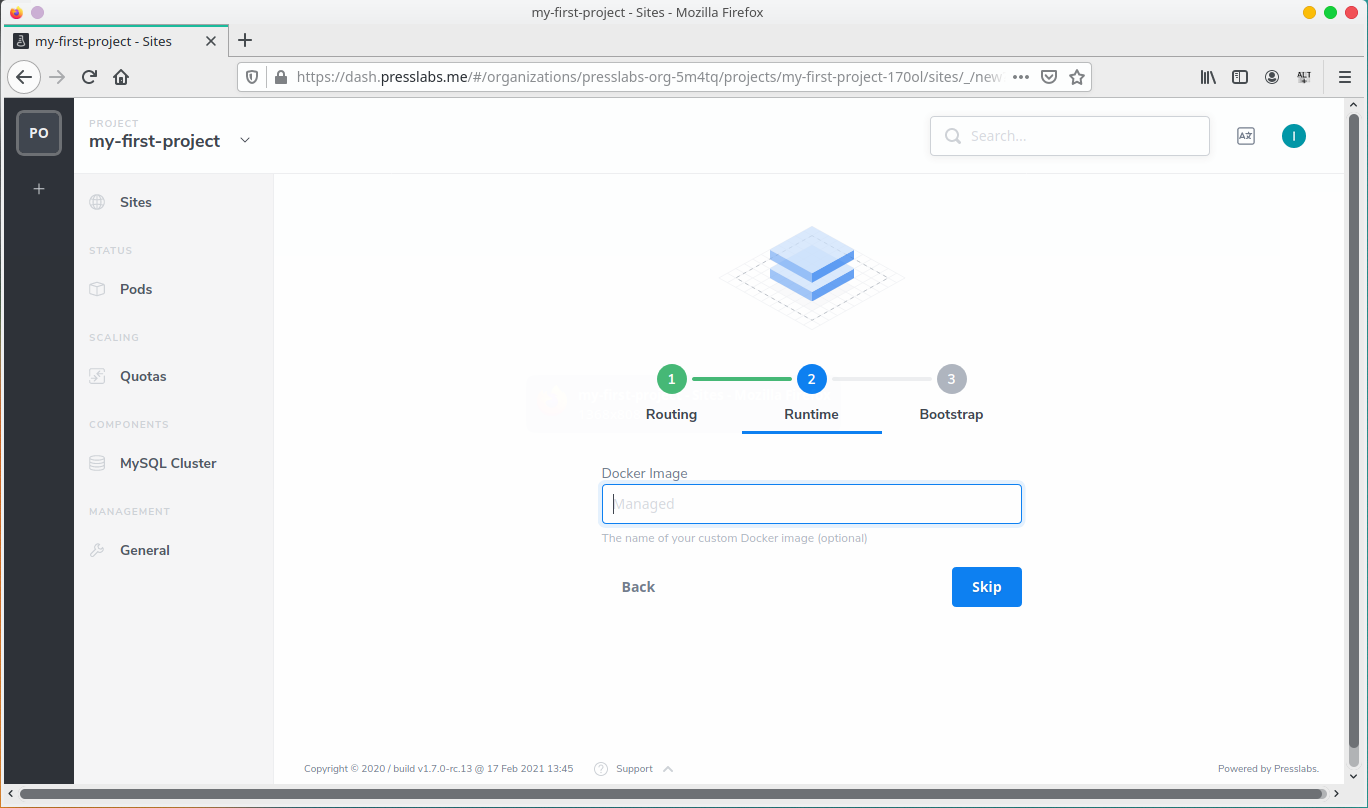
Add your custom Docker image or you can leave the field empty and use our default one:
The final step is to set up your site’s credentials, email and site name:
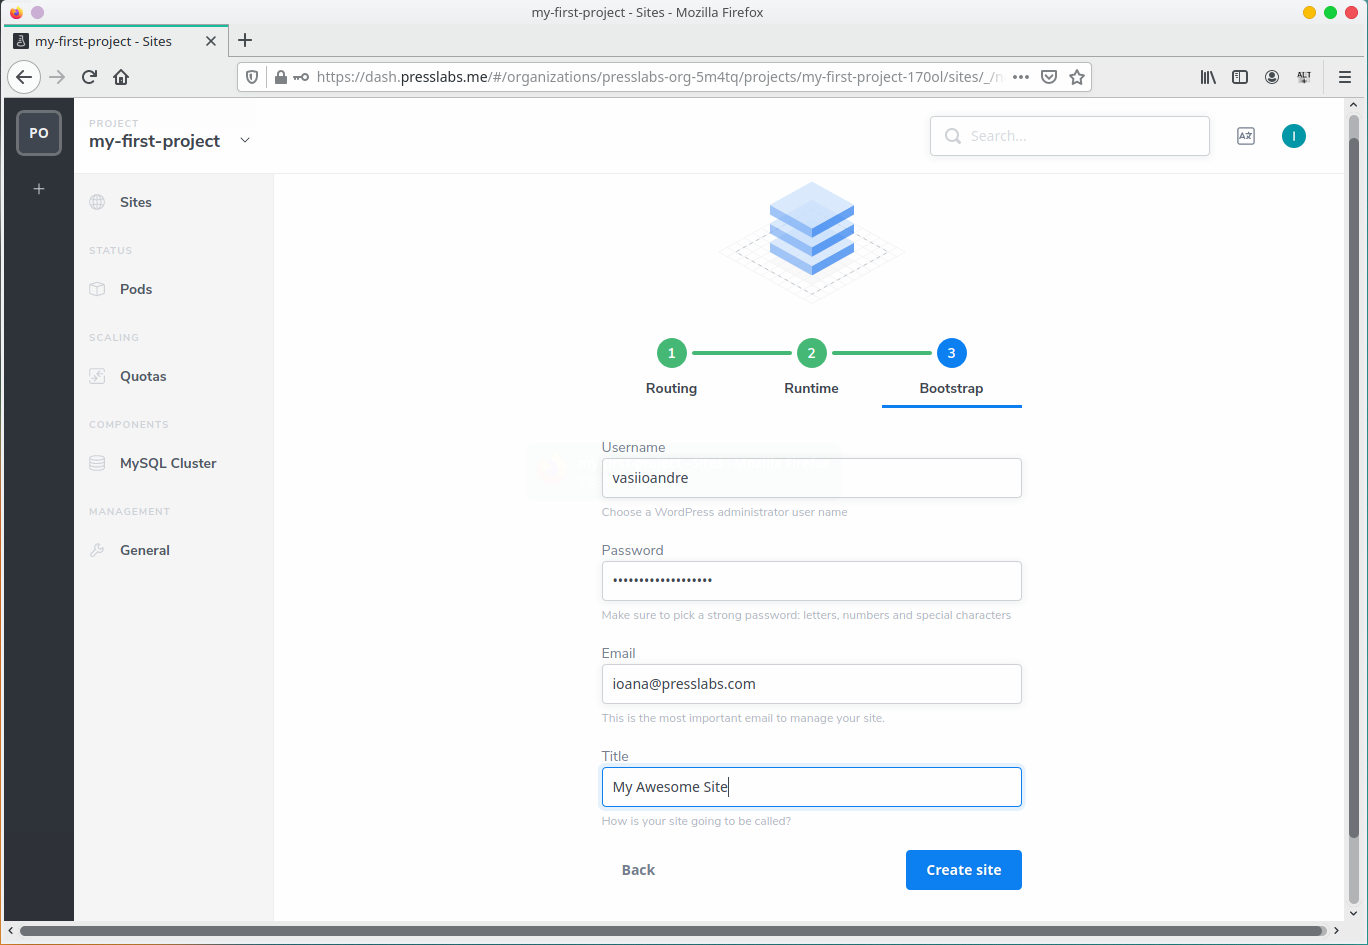
That’s it, now press Create site and wait for your site to be Running.
NOTE
You’ll see the error “Certificate request has not been completed.” in your site’s Overview until you make your site visible at the next step.
Make the site visible
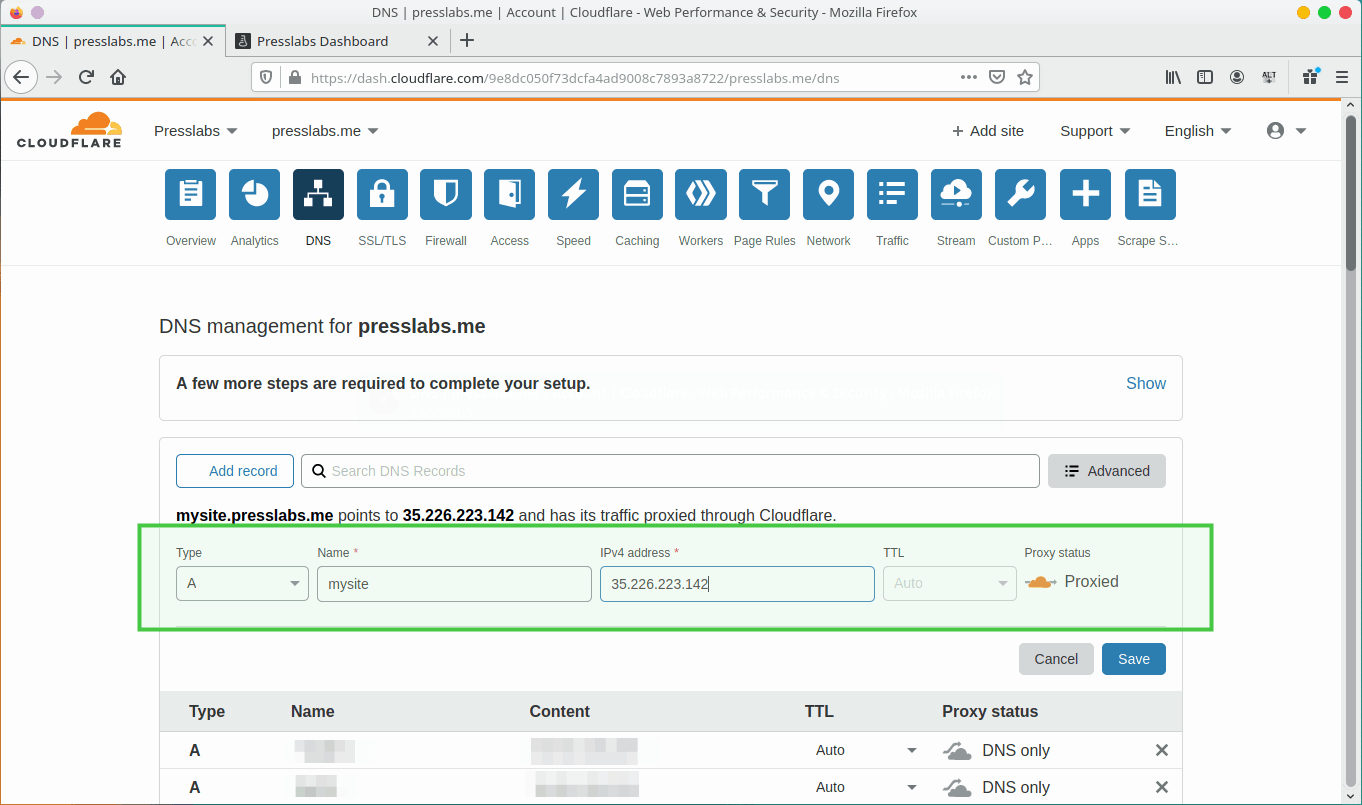
In order to make the site visible, you need to add an A record in your DNS zone pointing to the site’s IP.
Go to the Routing section of your newly created site:

Copy the IP you see in the Routing section and go to your DNS provider to create an A record that points to this IP.
Here is an example on Cloudflare, which is one of the most popular DNS providers:
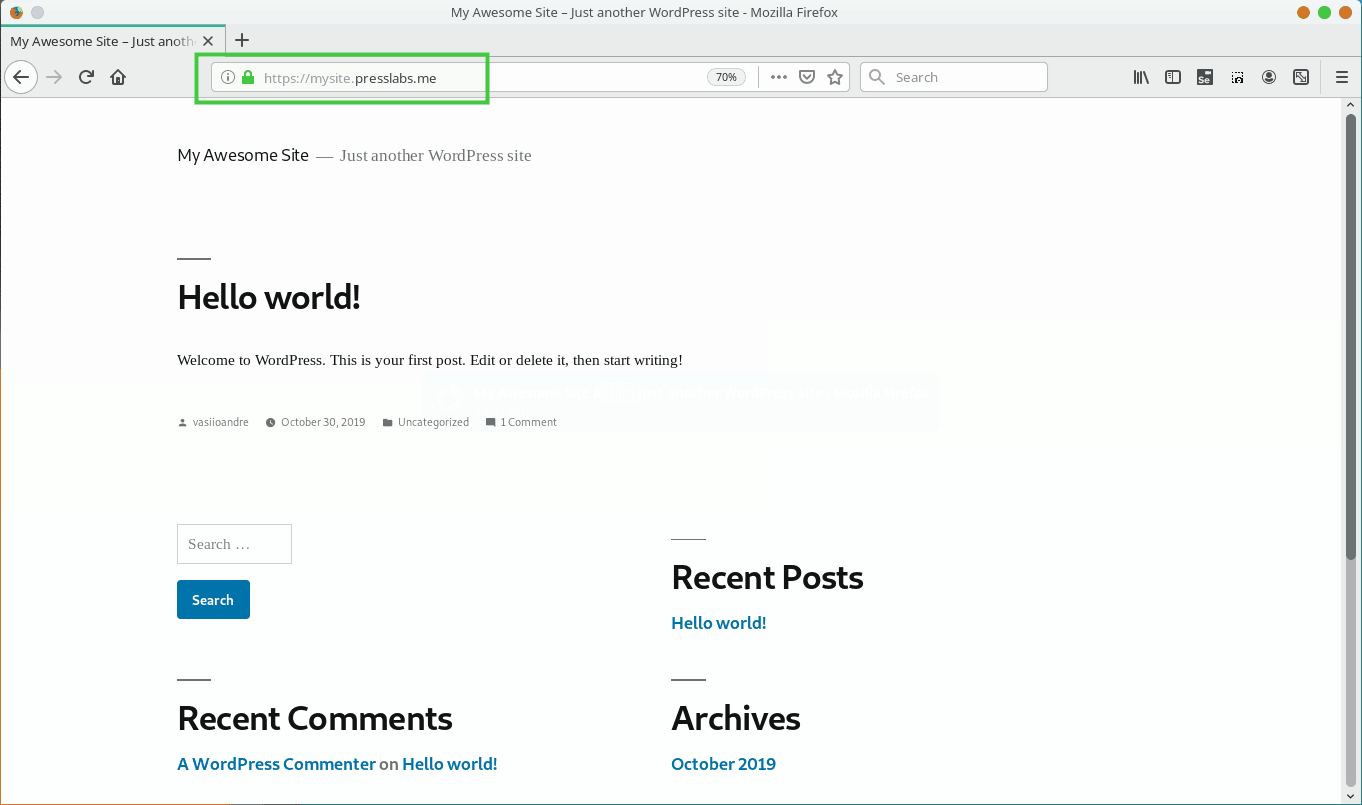
Now go to your site’s domain to check it out:
NOTE
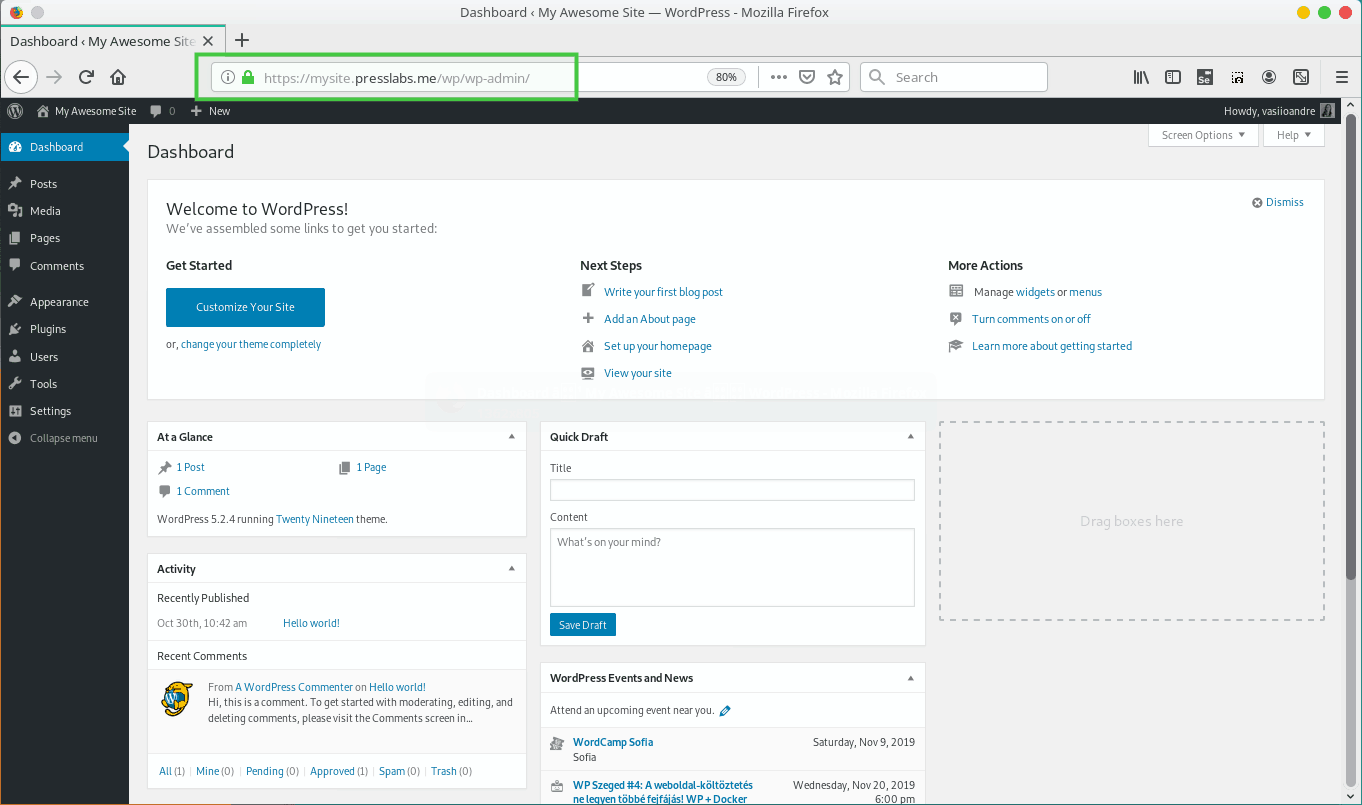
To access the wp-admin of the site, you need to go to site_domain/wp/wp-admin/.
Now that you have a fresh site on the Bitpoke App, you can go ahead an migrate the contents of your own site .