Configuration Wizard
You can configure the settings for the Bitpoke App from the configuration wizard that appears when you install it, or later from System settings.
After you install the Bitpoke App and paste the install link in your browser, you’ll be redirected to a configuration wizard to setup further details. You can configure these settings now or skip them and configure them later from the App’s System Settings . Skipping the configuration steps is a good approach if you want to check out the App as soon as possible to see what it has to offer, but they need to be followed for the App to be fully operational.
NOTE
- If you skip the configuration steps, keep in mind that the installation link regenerates every 2 hours and you’ll have to go back to the Bitpoke App on GCP and recopy the install link to access the App again.
- The installation link is automatically disabled when you login for the first time with your Auth0 or Google OAuth credentials.
- If you somehow mess up your credentials, you can reactivate the installation link to fix them.
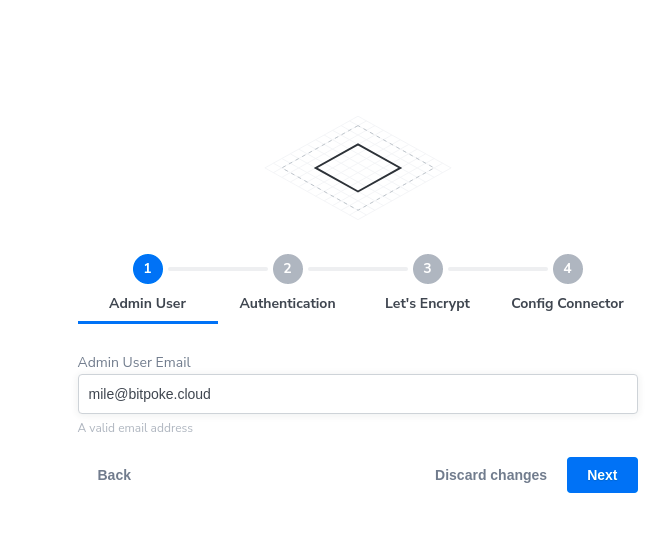
1. Enter the admin user
The first step is to enter the email address of the person who’ll be the admin of the Bitpoke App. You can add more admin users later from the App if you need so, see Admin Users .
NOTE
The admin users are the only ones that will be able to create and delete organizations and modify the App settings.
2. Set-up Authentication
We asume you have followed the steps for creating the Google OAuth credentials. Now is the moment to enter them and finalize setting up authentication for the Bitpoke App.
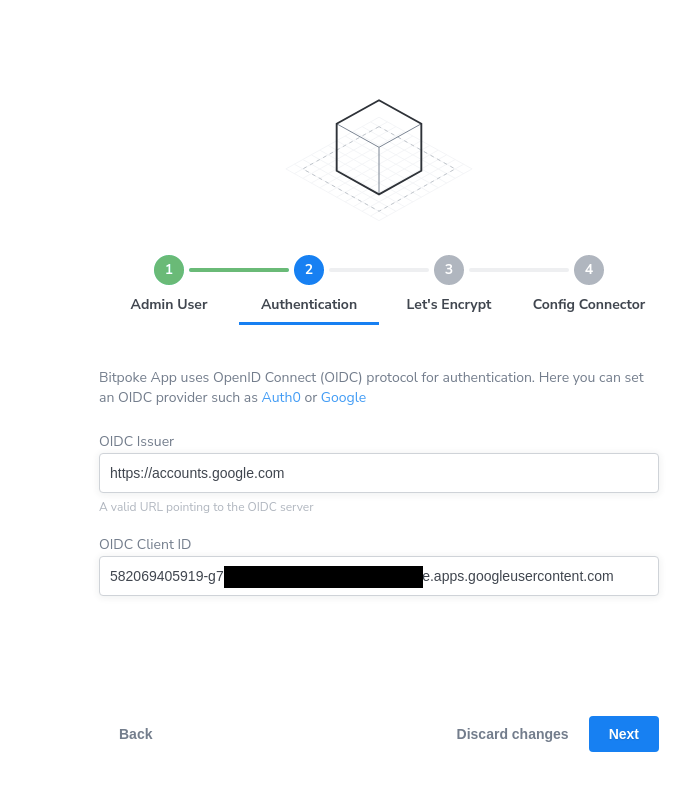
- CLIENT ID should be filled in OIDC Client ID
and set
- OIDC Issuer URL to
https://accounts.google.com
Then press the Next button.
Alternatively, the authentification to the Bitpoke App can be done using Auth0 instead by following the Auth0 authentication setup tutorial .
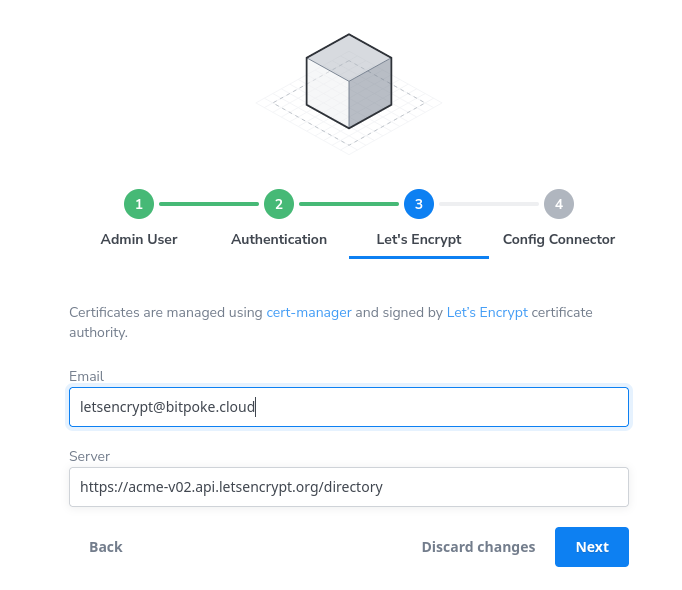
3. Configure Let’s Encrypt
Here you’ll need to enter:
- Let’s Encrypt Account Email: type the email that will be used to create Let’s Encrypt certificates; you’ll receive notices on this email in case your certificates expire
- Let’s Encrypt Server: this is the ACME server URL for Let’s Encrypt certificates, it’s automatically filled in for you; for staging environments you can use
https://acme-staging-v02.api.letsencrypt.org/directory, see more on the Let’s Encrypt docs
The generation of the certificates may take up to 10-15 minutes.
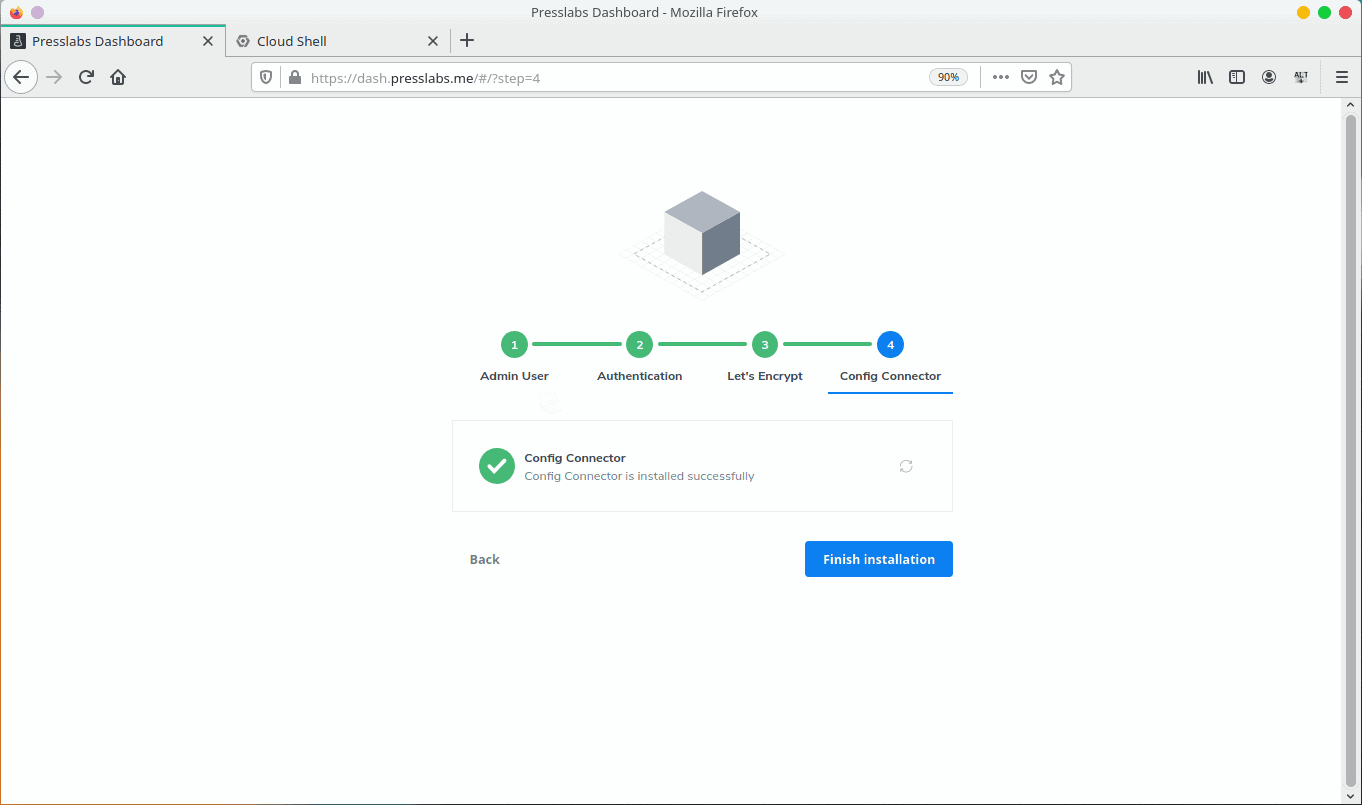
4. Install Config Connector
Now it’s the right time to install Config Connector. You should follow the instructions provided here .
5. Complete install
That’s it, you’ve successfully configured the Bitpoke App. All that’s left to do now is press on Finish Installation button.
Now go ahead and create your first site .